How to Make Fabric Bows A Crafters Guide

Learning how to make fabric bows really just comes down to mastering a few simple folds and securing them in place. Whether you're using a bit of glue for a quick no-sew version or adding a few simple stitches, the core idea is the same: shape a piece of fabric into loops, cinch it in the centre, and maybe add some tails to create that timeless look.
Your Guide to Crafting Beautiful Fabric Bows
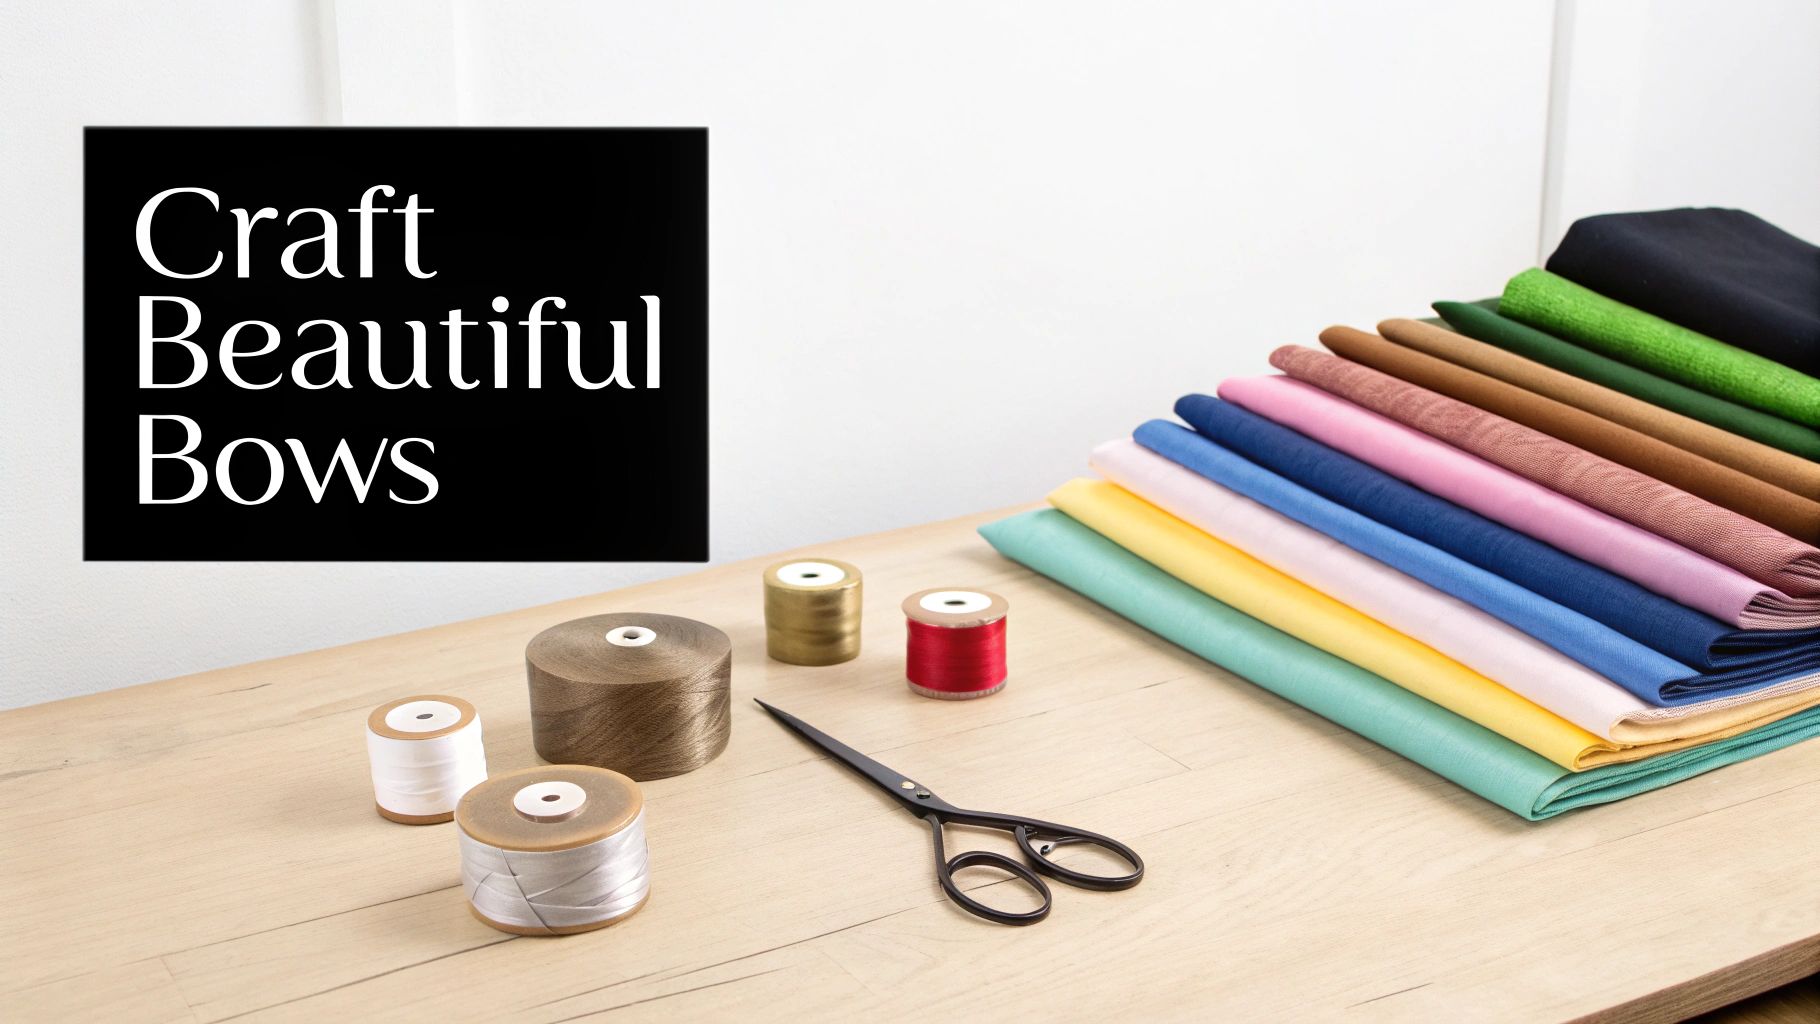 Welcome! If you've ever wanted to add a handmade touch to your gifts, home décor, or accessories, you've come to the right place. This guide is designed to go beyond the basic steps and show you how to create beautiful, professional-looking bows for absolutely any occasion. We'll get you started on your creative journey, helping you master different styles with confidence.
Making your own bows is such a rewarding skill. It gives you complete control over the colour, texture, and size, ensuring your projects always have that unique, personal flair. Whether you're a seasoned crafter or just starting out, the techniques are easy to pick up, and the results are instantly satisfying.
From Heritage to Hobby
The fabrics we get to play with today have a rich history rooted in British innovation. The Industrial Revolution completely changed how textiles were made. Inventions like James Hargreaves' Spinning Jenny in 1770 and Edward Cartwright's power loom in 1785 suddenly made mass production a reality.
Think about this: the number of looms in the UK surged from just 2,400 in 1803 to over 250,000 by 1857. This boom made beautiful woven fabrics widely available for decorative purposes, including bow making. It’s fascinating to discover more about the UK’s textile history and its impact on the crafts we enjoy today.
This legacy means we have an incredible variety of materials at our fingertips, from rustic cottons to luxurious velvets. Knowing the journey these fabrics took adds another layer of appreciation to the crafting process.
Bow making is more than just a craft; it’s a way to connect with a long tradition of decorative arts. Every fold and knot is part of a history that values beauty, detail, and personal expression.
What You Will Learn
I've organised this guide to help you build your skills one step at a time. We'll cover everything you need to feel confident and inspired as you start creating.
Here’s a little glimpse of what’s ahead:
- Essential Tools and Materials: We'll go over the must-have supplies, from the right kind of scissors to the best adhesives for the job.
- Simple No-Sew Methods: These are perfect for quick projects or for anyone who wants immediate results without picking up a needle and thread.
- Classic Sewn Bows: For those looking for a more durable and traditional finish, we’ll cover some basic stitching techniques that do the trick.
- Professional Finishing Touches: Learn how to create structured, voluminous bows and attach them securely to clips, wreaths, or gifts.
Get ready to turn simple strips of fabric into stunning decorative accents. Let’s get started
Getting Your Bow-Making Supplies Together
Before you dive into the fun part of folding and shaping, let's get your workspace set up. Having the right supplies on hand makes the whole process so much smoother and, frankly, more enjoyable. Think of it as your mise en place for crafting—everything within easy reach when you need it.
The great news is you don’t need a massive, expensive kit to get started. A few quality basics will see you through, whether you’re whipping up a simple bow for a gift or crafting intricate hair accessories.
Choosing Your Fabric or Ribbon
The heart and soul of any bow is the material you choose. Its texture, weight, and pattern really set the tone and dictate the bow's final personality, from rustic charm to polished elegance.
Here are a few of my favourites:
- Grosgrain Ribbon: This is a fantastic place to start if you're new to bow making. Its ribbed texture gives it a bit of grip, so it’s far less slippery to work with than other materials and creates beautifully perky, structured bows.
- Satin Ribbon: For a touch of pure luxury, you can't beat satin. Its smooth, glossy finish is perfect for weddings, formal events, or adding an elegant flair to gift wrapping. It can be a bit slinky, so a little patience goes a long way. If you want to master this material, read our detailed guide on using satin ribbon for bows.
- Cotton Fabric: If you're after a more bespoke or rustic feel, using strips of cotton fabric is a brilliant choice. You have an endless world of patterns to choose from, giving you total creative freedom for that shabby-chic or casual look.
- Velvet Ribbon: Nothing says opulence quite like velvet. The plush texture adds such depth and a sense of luxury, making it a go-to for the winter holidays, formal wear, or high-end packaging.
The textile industry here in the UK has a rich history of producing incredible materials that are just perfect for bow making. Today, that industry is as sophisticated as ever, with thousands of businesses creating everything from luxurious cashmere to specialised technical fabrics. This innovation is recognised globally and continues to provide crafters with amazing materials to work with.
Before we move on to tools, here's a quick guide to help you pick the perfect material for your next project.
Fabric and Ribbon Selection Guide for Bow Making
Choosing the right material is the first step to creating a beautiful, professional-looking bow. Some fabrics are a dream to work with for certain styles, while others might be a bit tricky. This table breaks down the common options to help you make the best choice.
| Material Type | Best For | Pros | Cons / Handling Tips |
|---|---|---|---|
| Grosgrain | Structured bows, hair clips, everyday crafts | Sturdy, holds its shape well, easy for beginners to handle. | Can have a slightly casual look; ends will fray if not sealed. |
| Satin | Weddings, formal events, elegant gift wrapping | Luxurious, smooth, beautiful drape. Available in single or double-face. | Slippery and can be difficult to work with. Prone to snagging. Single-face satin is less expensive. |
| Cotton Fabric | Rustic, shabby-chic styles, custom-patterned bows | Endless pattern variety, soft, easy to sew. | Wrinkles easily (press before use), frays heavily (consider a fray-check solution). |
| Velvet | Holiday décor, formal wear, luxurious touches | Rich texture, deep colour saturation, opulent feel. | Can be bulky, may shed fibres. Use sharp scissors for clean cuts. Glue is often better than sewing for securing. |
| Wired Ribbon | Large, voluminous bows (wreaths, Christmas trees) | Edges contain wire, allowing for easy shaping and fluffing. | The wire can poke through if not handled carefully. Not suitable for soft, drapey styles. |
| Organza/Tulle | Light, airy bows, wedding décor, tutu embellishments | Sheer, delicate, adds volume without weight. | Very slippery and lacks structure on its own. Often layered with other ribbons. |
Ultimately, the best way to learn is to experiment! Don't be afraid to try different materials to see what you enjoy working with and the effects you can create.
Essential Tools for Your Crafting Kit
Once you've picked your fabric, you'll need a few trusty tools to bring your bow to life. Using the right equipment not only makes things easier but also gives you that clean, professional finish we're all after.
Your Core Toolkit:
- Sharp Fabric Scissors: A dedicated pair of sharp scissors is a must. Seriously, hide them from the rest of the family! Using them only on fabric keeps them from getting dull, so you always get clean, crisp cuts without snagging your beautiful ribbon.
- Hot Glue Gun: For any no-sew method, a reliable hot glue gun is your best friend. It gives you a strong, quick-setting bond that’s perfect for securing folds and attaching the centre of your bow. A mini, low-temperature version is usually all you need.
- Needle and Thread: If you prefer the traditional sewing route, a simple needle and some neutral-coloured thread are all it takes. I find a slightly thicker, all-purpose polyester thread provides enough strength to hold the bow's shape securely.
- Measuring Tool: A flexible tape measure or a clear ruler is essential for cutting your fabric to the right size. Being accurate at this stage is the key to getting symmetrical, well-proportioned bows.
My Top Tip: Keep a little magnetic dish or pin holder on your workspace. It's perfect for keeping track of needles, clips, and other small bits and bobs that have a tendency to vanish into piles of fabric scraps.
Optional (But Very Helpful) Extras
While the basics will get you far, a few extra items can really level up your bow-making and open up new creative avenues. Think about adding these to your collection as you get more confident.
Wired ribbon, for example, is a total game-changer for creating big, bouncy bows that need to hold their shape—think wreaths or Christmas tree toppers. The thin wire tucked into the edges lets you mould and fluff the loops to perfection.
Another lifesaver is a liquid fray-check solution. A tiny dab on the cut ends of delicate fabrics will stop them from unravelling, ensuring your creations have a durable, polished look that lasts.
Mastering No-Sew Fabric Bow Techniques
Sometimes you just need a beautiful bow without digging out the needle and thread. Whether you're in a rush, new to crafting, or simply love the instant results you get with a glue gun, no-sew methods are a fantastic secret weapon. You can create absolutely stunning fabric bows with a clean, professional finish. The real magic is all in the precise folding and a reliable bond.
This approach is my go-to for everything from dressing up a last-minute gift to adding a festive touch to home décor. You can achieve looks that are just as polished and structured as sewn bows, but in a fraction of the time. We'll start with a simple, classic bow and then tackle the ever-popular boutique style.
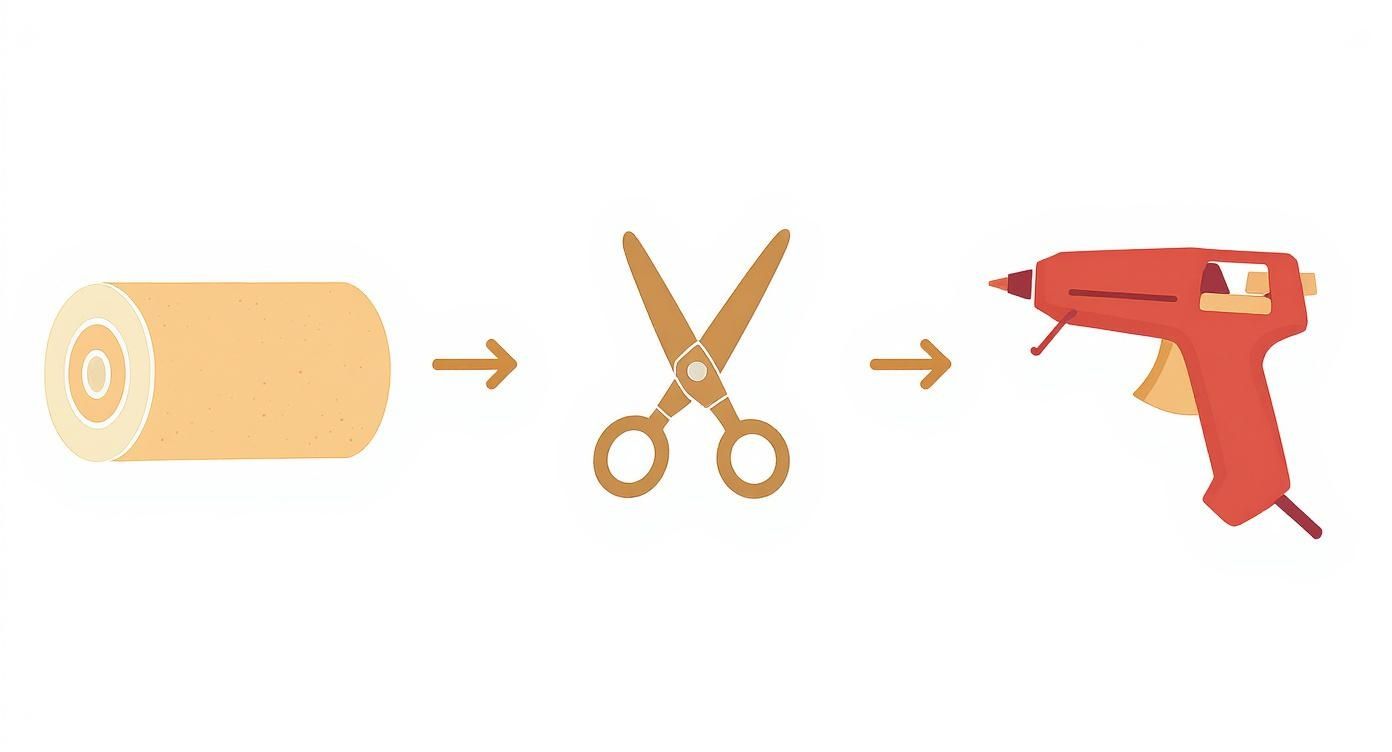
As you can see, it really doesn't take much to get started. With just three core items—your chosen fabric, a sharp pair of scissors, and a good adhesive—you're all set to begin crafting.
Creating a Classic Single-Loop Bow with Glue
This is the quintessential gift bow, and learning to make it with glue is incredibly easy. It's the perfect first project for building your confidence. All you'll need is a single rectangular piece of fabric or a length of ribbon.
First up, cut your fabric. For a nice medium-sized bow, a rectangle measuring about 25 cm long and 8 cm wide is a great starting point. If you're using ribbon, just snip off a 25 cm length. This piece will form the main loops of your bow.
Now, lay your fabric flat with the 'wrong' side facing up. Fold both of the short ends toward the centre so they overlap just slightly, creating what looks like a simple fabric tube.
Pro Tip: When you secure the overlapping ends, use only a thin line of hot glue. If you use too much, it can create a hard, bulky lump right in the middle, which makes it tricky to get a neat, clean pinch in the next step.
Once the glue has set, it's time to bring that bow shape to life. Simply pinch the fabric loop right in the centre, gathering it into an accordion-like fold. You’ll see the classic bow shape appear instantly!
To finish it off, take a small, thin strip of matching fabric to wrap around the centre you just pinched. Add a dot of glue to the back of the bow, press one end of your strip onto it, wrap it tightly around the front, and secure the other end on the back with one last dot of glue. Trim any excess fabric, and you're done!
For more speedy ideas when you're short on time, check out our guide on how to make a small bow in a hurry.
The No-Sew Boutique Bow Method
The boutique bow is a huge favourite, and for good reason! It’s known for its stacked, perky loops that give it a much fuller, more dimensional appearance. Pulling this off without a single stitch is all about strategic folding and gluing. It might look complicated, but I promise it's just a series of simple folds.
For this style, you’ll want three separate pieces of fabric:
- Main Loops: A long rectangle (e.g., 45 cm x 10 cm)
- Tails: A slightly shorter rectangle (e.g., 35 cm x 10 cm)
- Centre Wrap: A very small strip (e.g., 8 cm x 3 cm)
Let's begin with the main loops. Take your longest piece of fabric and form a figure-eight or an awareness ribbon shape by crossing one end over the other. Take a moment to adjust the loops until they look symmetrical and are the size you’re happy with.
Once you’ve got the shape just right, carefully place a dot of hot glue exactly where the fabric strips cross over to hold everything in place. This is the foundation of your bow.
Now, take that figure-eight shape and fold it in half, bringing the top loop down to meet the bottom one. This is what creates that signature four-loop boutique look. Pinch the entire stack firmly in the centre.
Next, let's get the tails ready. Take your second piece of fabric, fold it in half width-wise to find the middle, and give it a good pinch. Apply a line of hot glue across the back of your pinched loops and press the pinched centre of the tails firmly onto it.
Finally, grab your smallest fabric strip and use it to wrap the centre, hiding the pinched middle and securing the whole bow together. Just like with the classic bow, glue one end to the back, wrap it tightly around, and glue the other end down. Your gorgeous no-sew boutique bow is complete
Creating Bows with Simple Sewing
While no-sew methods are brilliant for getting things done quickly, there's a certain charm and sturdiness that only comes from using a needle and thread. When you create bows with a few simple stitches, you give them a traditional, handcrafted quality and incredible strength. This makes them perfect for anything that’s going to see a lot of handling, like hair accessories or embellishments on clothing.
Don't be put off if you're not a sewing expert. The stitches needed here are really basic, and their main job is to hold everything together, not to look pretty. Most of your handiwork will be cleverly tucked away inside the folds of the fabric, so there’s absolutely no pressure for perfection. This approach also opens up a world of fabric choices, letting you work with delicate materials that might not stand up to hot glue.
Crafting a Classic Hand-Sewn Bow
Let's start with the timeless, classic bow. This is the foundation for so many other styles, and once you’ve mastered this simple sewn version, you’ll have a skill you can use on countless projects. The process is very much like the no-sew method, but we're swapping out the glue for a few secure stitches.
Begin with a rectangular piece of fabric. For a nice medium-sized bow, something around 25 cm long by 10 cm wide is a great starting point. Lay the fabric with the wrong side facing up. Now, fold both short ends in so they meet at the centre. You can have them just touching or overlapping by a centimetre or so, whatever feels right.
Press the piece flat to create a neat fabric loop. Now for the sewing part. Pinch the centre of your loop together, creating two or three neat accordion-style folds. Hold these folds tightly between your thumb and forefinger.
With your other hand, take a threaded needle (I always double the thread for extra strength) and push it straight through the centre of all those pinched layers. Pull the thread all the way through, leaving a small tail. Now, wrap the thread tightly around the pinched centre several times—about 5-6 wraps should do the trick. This is the key step that really cinches the bow and gives it that defined shape. To finish, pass the needle back through the layers one last time and tie a firm knot with the thread tail on the back of the bow.
The real secret here is that the wrapping motion does most of the work. The first few stitches are just there to anchor the thread. How tightly you wrap will determine how perky your bow loops are, so pull it snug for a crisp, professional finish.
Assembling the Perfect Boutique Bow with Stitches
The boutique bow, with its charming stacked loops, looks really intricate, but it’s surprisingly easy to put together with a needle and thread. Using a sewing method gives it amazing stability, making sure those gorgeous loops stay perfectly shaped for good. For this style, you’ll usually use a single, long piece of ribbon. A length of about 75 cm is a great starting point for a standard hair bow.
First, you need to create that signature figure-eight shape. Take one end of your ribbon and fold it over to make the first loop. Then, cross the ribbon back underneath to form a second loop on the opposite side, which should look a bit like an awareness ribbon. Fiddle with the loops until they’re even and the tails are the length you want.
Once you’re happy with the shape, pinch the centre point where all the ribbons cross over. From there, you’ll fold the top loops down towards the bottom ones. This is the crucial move that creates that distinctive four-loop boutique look. Hold everything firmly in the centre.
This is where your needle and thread come in. Just like with the classic bow, pass your needle directly through the centre of all the folded ribbon layers. Pull the thread through and then wrap it tightly around that cinched middle section multiple times. You'll find the thread sinks right into the creases, becoming almost invisible.
Finish it off by pushing the needle back through all the layers one last time and tying a secure knot at the back. And just like that, you have a beautifully formed boutique bow base, ready for its finishing touches.
Finishing Touches for Sewn Bows
The final step for any sewn bow is to add the centre wrap and, if you like, a separate tail piece. This not only hides your thread work but also gives the bow a polished, complete look.
For the centre wrap, just take a small piece of matching ribbon or fabric. I find the easiest way is to put a tiny dot of hot glue on the back of the bow to secure one end of the wrap. Pull it tightly around the front to cover the threads, and then secure the other end on the back with another dot of glue. Even though the bow itself is sewn, using glue for this final piece is often the neatest and quickest option.
If you want to add tails:
- Cut your tail ribbon: Snip a separate piece of ribbon to your desired length.
- Shape the ends: For a polished look, cut the ends into a 'V' shape (also known as a fishtail) or at a sharp angle.
- Attach to the bow: You can either use a few stitches or a line of hot glue to attach the centre of the tail ribbon to the back of the bow beforeyou add the centre wrap. This ensures it's securely locked into the final piece.
Advanced Techniques for a Professional Finish
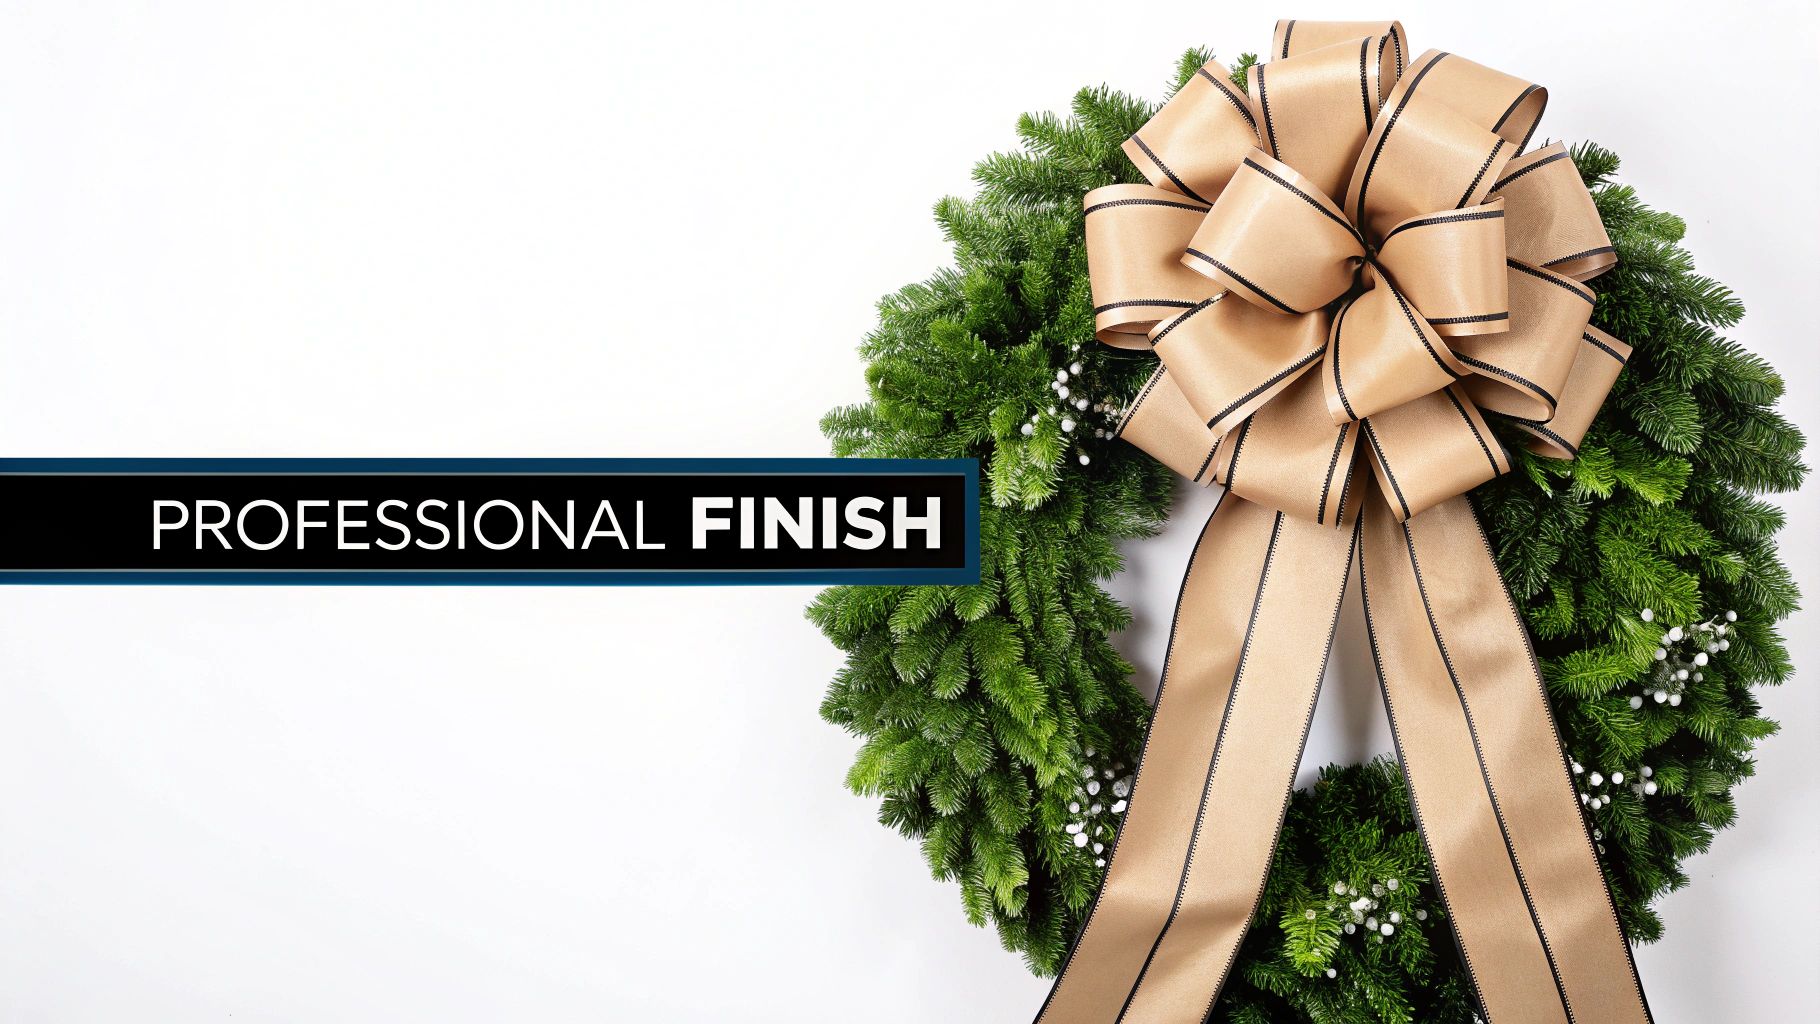
Once you've got the basic folds and tucks down, it's time to explore the little details that take your fabric bows from simply handmade to truly professional. These are the techniques that add structure, dimension, and that polished look you see in high-end shops. We're talking about creating those big, bouncy bows for wreaths or adding elegant layers for a more refined finish.
We'll dive into working with wired ribbon, which is a genuine game-changer for decorative bows, and also explore the double-loop bow for adding extra fullness. Finishing touches, like sealing the ends and securely attaching your bows, are the final steps that make sure your work looks fantastic and actually lasts.
Creating Voluminous Bows with Wired Ribbon
Ever admired a perfectly shaped, voluminous bow on a Christmas tree or a front door wreath? The secret is almost always wired ribbon. That thin, flexible wire hidden in the edges lets you sculpt and fluff the loops into exactly the shape you want—and more importantly, it makes them stay that way.
The beauty of wired ribbon is its forgiving nature. You don't need a complex plan to start. Begin by creating a small loop at one end of your ribbon, leaving a tail of your desired length. Pinch this first loop firmly at its base.
From there, just keep creating loops of a similar size, alternating from one side to the other and pinching each one at that same central point. Think of it like building a figure-eight pattern that stacks on top of itself. For a really big, full bow, you might create three or four loops on each side.
Once you have a good stack of loops, secure the centre tightly with a piece of floral wire or even a cable tie. Wrap it around your pinched central point and twist it firmly at the back. Now for the fun part: start pulling and shaping the loops. Gently pull them apart, fluffing them outwards and moulding them with your fingers until you have a full, rounded bow. You can also learn how to make an impressive feature bow using a bow makerin our dedicated guide, which can simplify this process even further.
Crafting an Elegant Double-Loop Bow
A double-loop bow adds an extra layer of depth and sophistication, making it a wonderful choice for high-end gift wrapping or special occasion accessories. It looks intricate, but it’s really just a clever layering of two single bows.
To create this style, you’ll need two lengths of ribbon:
- The Base Layer: A longer piece of ribbon for the larger, bottom bow.
- The Top Layer: A shorter piece for the smaller bow that will sit on top.
First, create a simple bow with your longer piece of ribbon, either by gluing or sewing the centre as we've covered before. Set this larger bow aside for a moment.
Next, take your shorter length of ribbon and make a second, smaller bow in exactly the same way. The key is to make sure it’s proportionally smaller than the first one.
Once both bows are ready, simply layer the smaller one directly on top of the larger one. A dot of hot glue or a few discreet stitches through the back is all you need to secure them together. The final touch is to add a single centre wrap around both bows, which unites them into one seamless, layered piece. This technique is fantastic for combining different colours or textures, like a satin top bow on a grosgrain base.
Professional Finishing and Fastening Methods
The final details are what truly set your work apart. An impeccably finished bow is not just beautiful but also functional and durable.
One of the most crucial steps is stopping the ribbon ends from fraying. For synthetic ribbons like grosgrain or satin, heat-sealing is the most effective method. Carefully and quickly pass the cut edge of the ribbon through the flame of a lighter. The heat melts the fibres just enough to create a clean, sealed edge that won't unravel. Always do this in a well-ventilated area and have a practice go on a scrap piece first.
For natural fibres like cotton or linen that would just burn, a liquid fray-check solution is your best friend. A thin application along the cut edge dries clear and provides a durable seal.
How you attach your bow is just as important as how you make it. Here are some reliable methods for common uses:
- Alligator Clips: Apply a line of hot glue to the top of the clip and press the bow on firmly. For an even stronger hold, wrap the bow’s centre ribbon around the bow and the top prong of the clip before gluing it down.
- Brooch Pins: Glue the pin back directly onto the back of the bow. For heavier bows, choose a pin with a wider base for more surface area and a stronger bond.
- Hair Ties: Loop the hair tie through the back of the bow's centre wrap before you glue it down. A few extra stitches to secure the tie to the centre wrap will give you maximum durability.
Historic British textile brands have long set a standard for quality, influencing everything from high fashion to decorative crafts like bow making. This heritage of quality is reflected in the modern neckwear market, where products like bow ties continue to be popular. In fact, the global market for neckwear was valued at USD 3,743.2 million in 2023 and is expected to grow. You can discover more insights about the bow ties market and how textile innovation drives its growth on Datahorizzon Research.
Common Questions About Making Fabric Bows
As you dive into the world of bow making, you're bound to run into a few questions. It’s totally normal to wonder which fabric is best to start with or how to fix a pesky problem like fraying ribbon. I’ve put together some clear, straightforward answers to the queries I hear most often, helping you get past any little hurdles and perfect your technique.
What Is the Best Fabric for Beginner Bow Makers?
If you're just starting your journey and learning how to make fabric bows, grosgrain ribbon is your best friend. Honestly, I recommend it to everyone who's just starting out.
Its ribbed texture gives you a bit of extra grip, which makes it so much easier to fold and hold in place compared to slippery satins. Grosgrain has enough body to create wonderfully structured, perky loops, but it’s still pliable enough for a beginner to handle without getting frustrated. It's a forgiving material that won't show every slight imperfection.
My advice? Start with a medium width, somewhere around 3.5 to 5 cm. It’s a really manageable size for practising all the different styles.
How Do I Stop Ribbon Ends From Fraying?
Nothing ruins the look of a beautiful, crisp bow faster than a fraying edge. Thankfully, the fix is simple and just depends on the kind of ribbon you’re using.
For synthetic ribbons like grosgrain, satin, or organza, the most effective method is heat-sealing. All you need to do is very briefly pass the cut edge of the ribbon through the side of a lighter’s flame. The heat instantly melts and seals the fibres, creating a clean, durable edge that won’t unravel.
Safety First: Always be careful when you’re working with a flame. I always suggest doing a quick test on a scrap piece of ribbon first to see how it reacts—some types melt much faster than others! For natural fibres like cotton or linen, which would just burn, you’ll want to use a liquid fray-check product or run a thin line of clear-drying fabric glue along the edge instead.
How Can I Make My Bows Look Fuller?
Getting that full, voluminous look that doesn't go flat or floppy comes down to a combination of three key things: the material you choose, your folding technique, and how you finish it.
- Choose Stiffer Materials: For big, bouncy bows, your best options are wired ribbon, a high-quality stiff grosgrain, or even cotton fabric that you've treated with spray starch. The internal structure of these materials is what gives the loops their lift and shape.
- Technique Matters: When you're forming your loops, try not to pull the centre too tight right away, as this can flatten them out. If you’re making boutique bows, focus on creating sharp, defined creases as you fold—this makes a huge difference.
- Fluff and Shape: Once your bow is all put together, don’t be afraid to get your fingers in there! Gently pull the loops apart, open them up, and shape them until you're happy with the volume. This final "fluffing" is what truly brings a bow to life.
What Is the Best Way to Attach Bows to Hair Clips?
A hot glue gun is easily the quickest and most secure way to attach your bows to most hair accessories. For an alligator clip, just apply a thin line of hot glue directly onto the top prong and press the back of the bow firmly onto it while the glue is still hot.
If you want an extra-secure, pro finish, especially for bows you're making for children, here’s a little trick: wrap a small piece of matching ribbon around the bow's centre, passing it through the clip's hinge before gluing the end down on the back. This simple step mechanically locks the bow to the clip, making it incredibly durable and much, much harder to pull off.
At Ribbons4u Ltd, we have all the high-quality ribbons you need to get started on your creative journey. Whether you're looking for vibrant grosgrain, luxurious satin, or festive Christmas ribbon, you'll find the perfect materials to bring your ideas to life. Explore our extensive collection at https://ribbonsforyou.com.


 Facebook
 Twitter
 Pinterest